
Tel 07703 697983
workshop@42abbeville.com
Vintage Diamond Earring
Post Change & Restoration
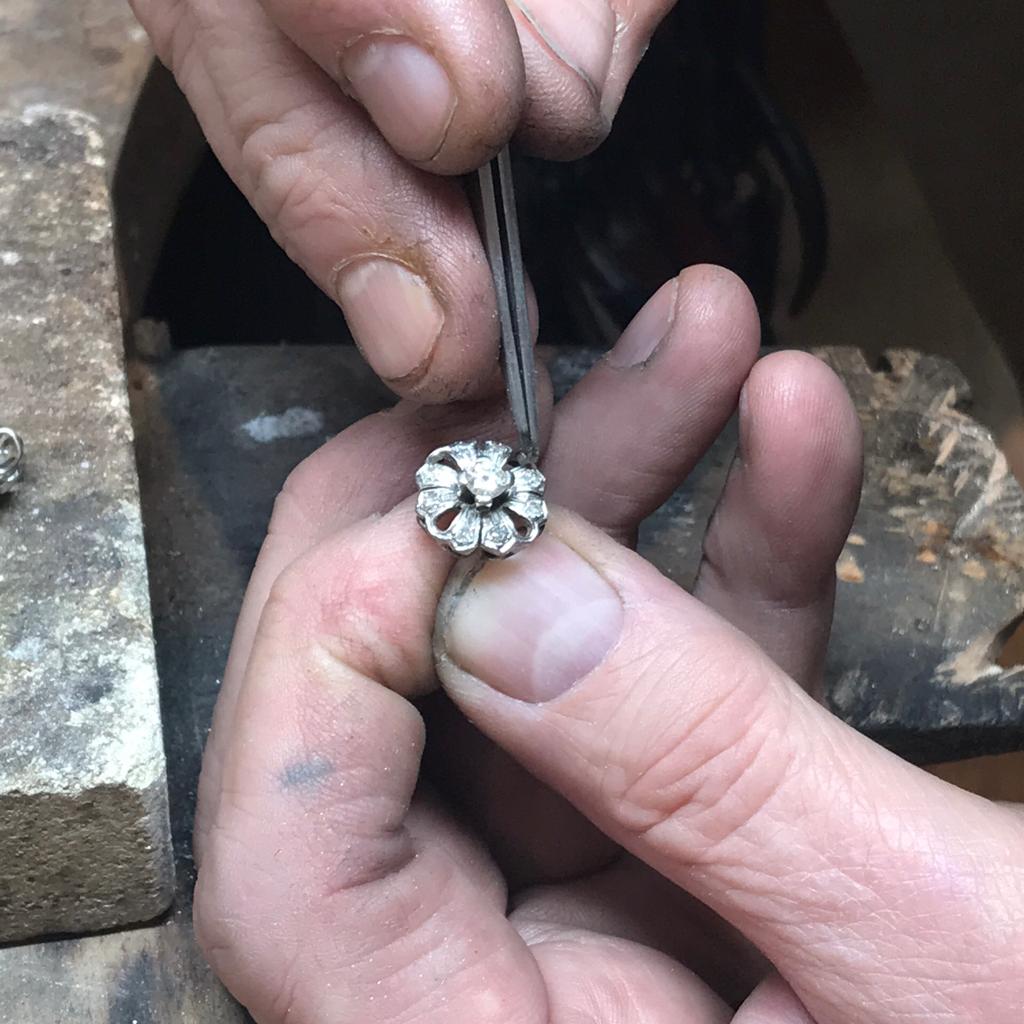
After an initial clean, we examine the piece for damage of any kind.
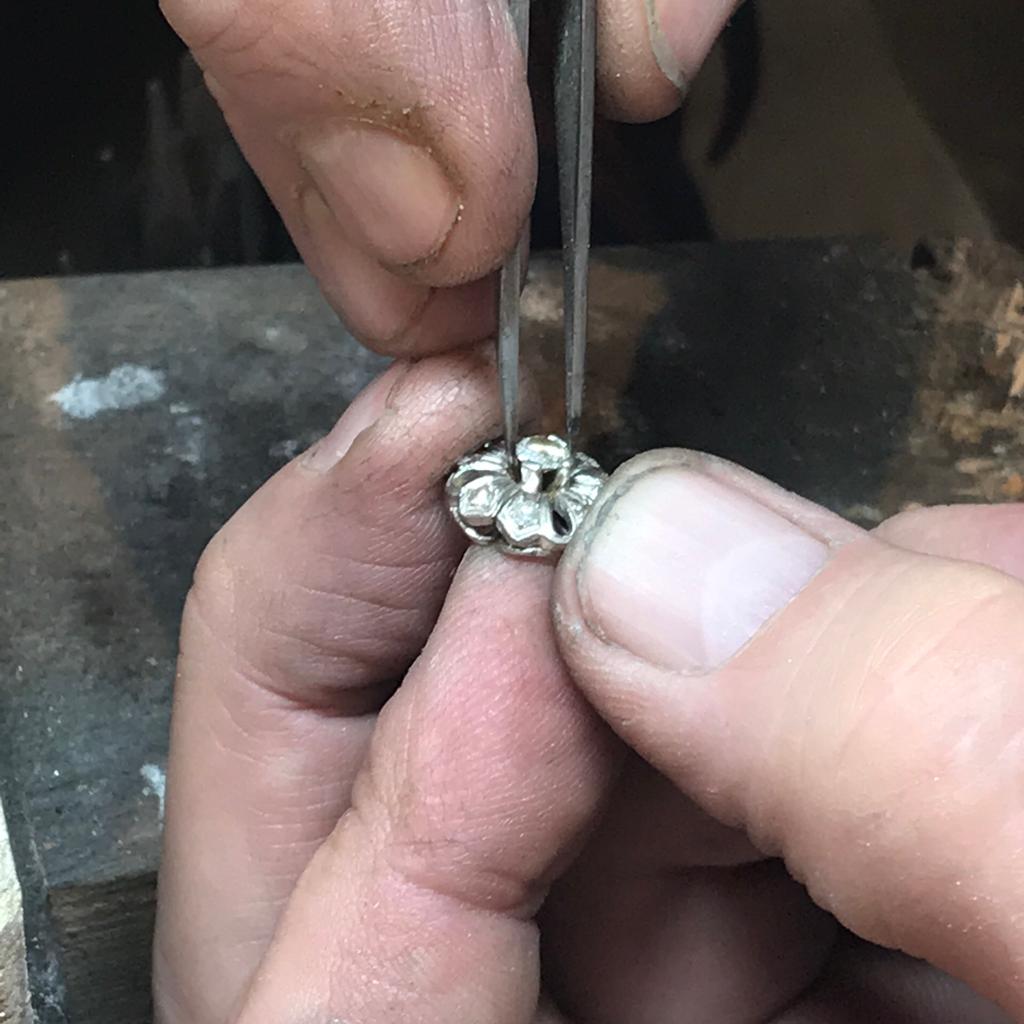
Checking the stones to make sure all of them are tight and secure by tapping them and wiggling them (one of them is a little loose so we are going to tighten that up)
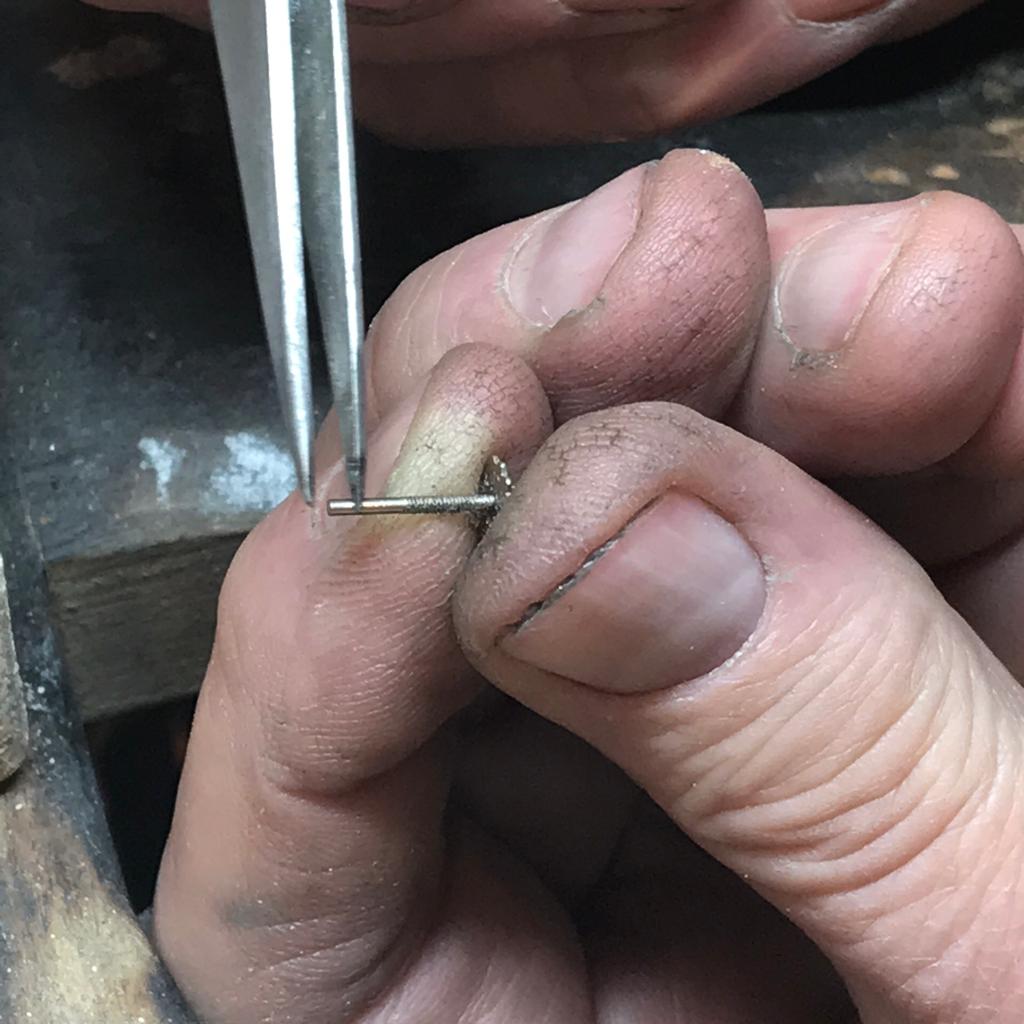
Check the size of the new posts (they are too long) so we cut them on the side where there’s no thread, because the more thread that’s available means (the screw part) there is more control for the client to tighten them as much as they want.
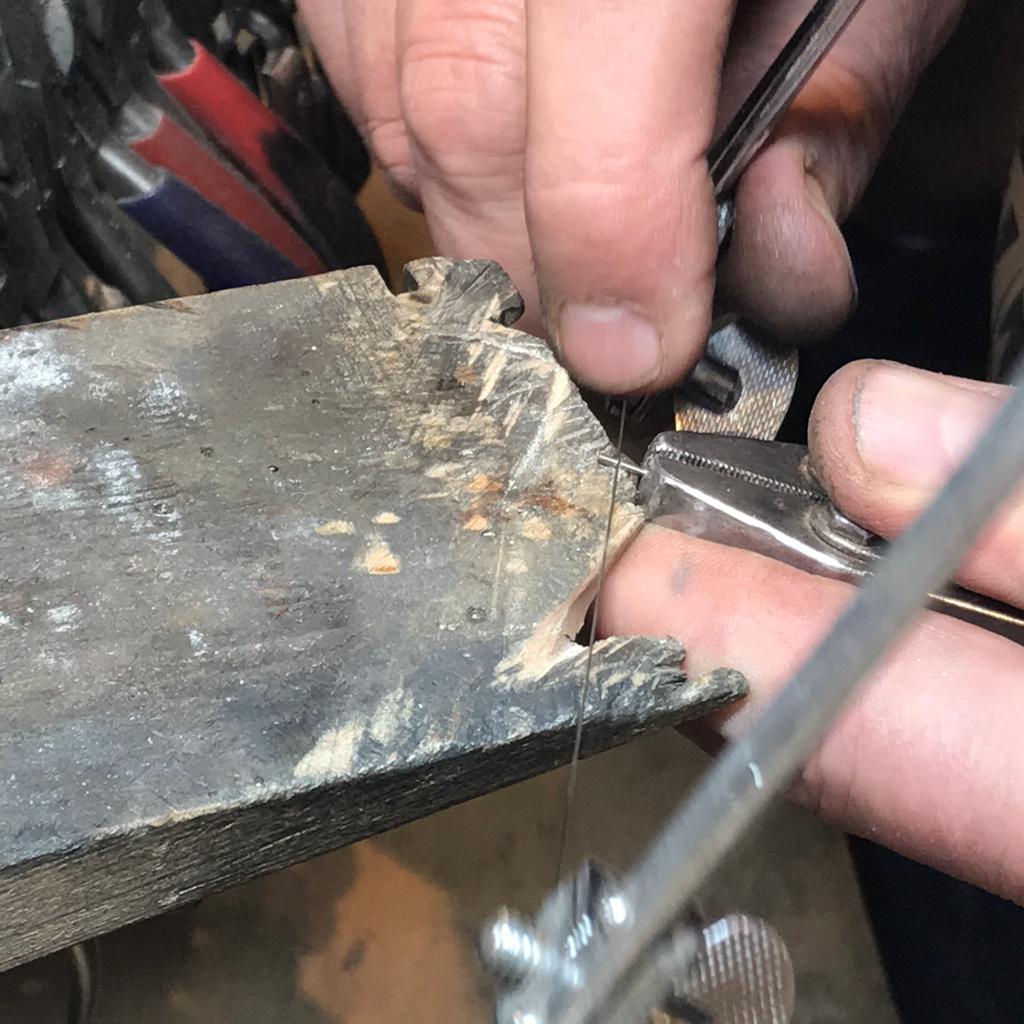
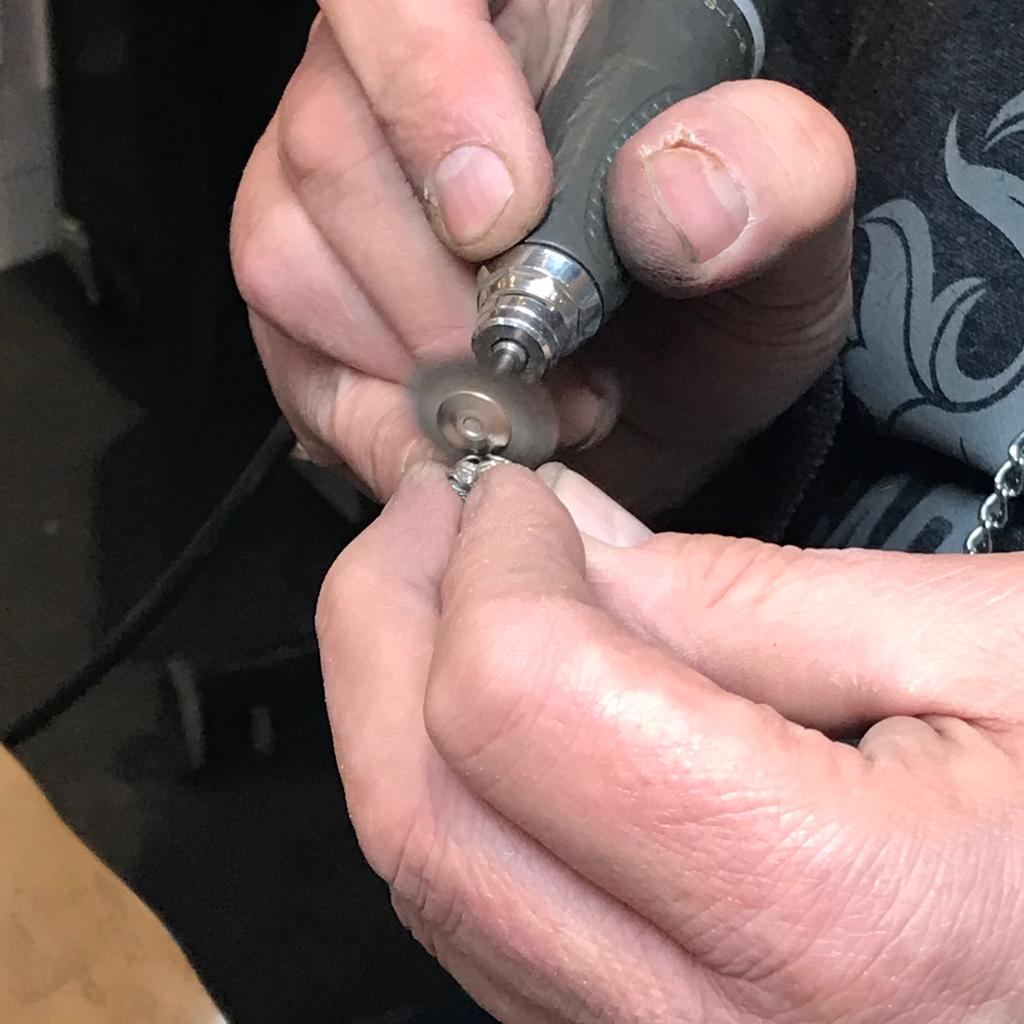
We then cut 50% of the non-threaded side of the posts off with a saw…
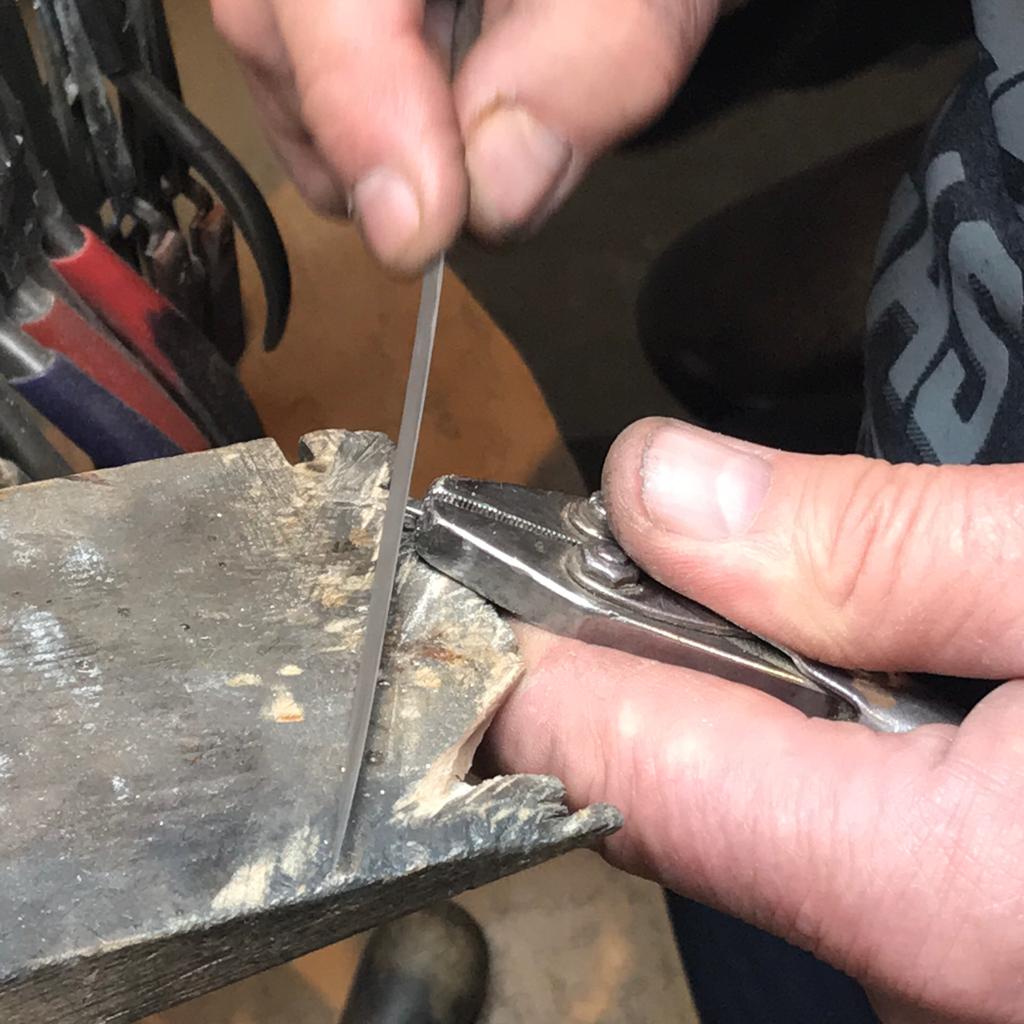
And file smooth the end to make it flat.
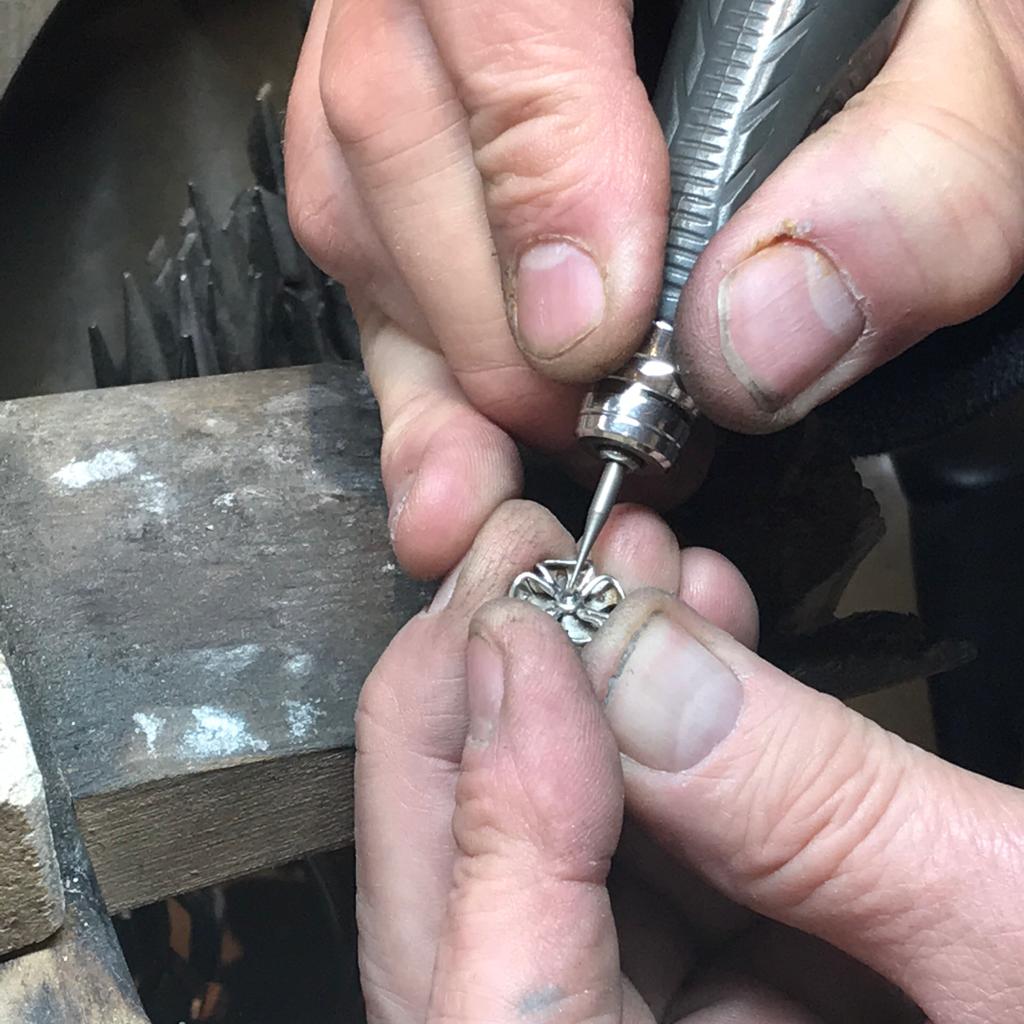
We now use a very small burr to mark the center of earring where the post will go, as well as create a small indentation to key the new wire into.
More surface area means that the solder will be more secure.
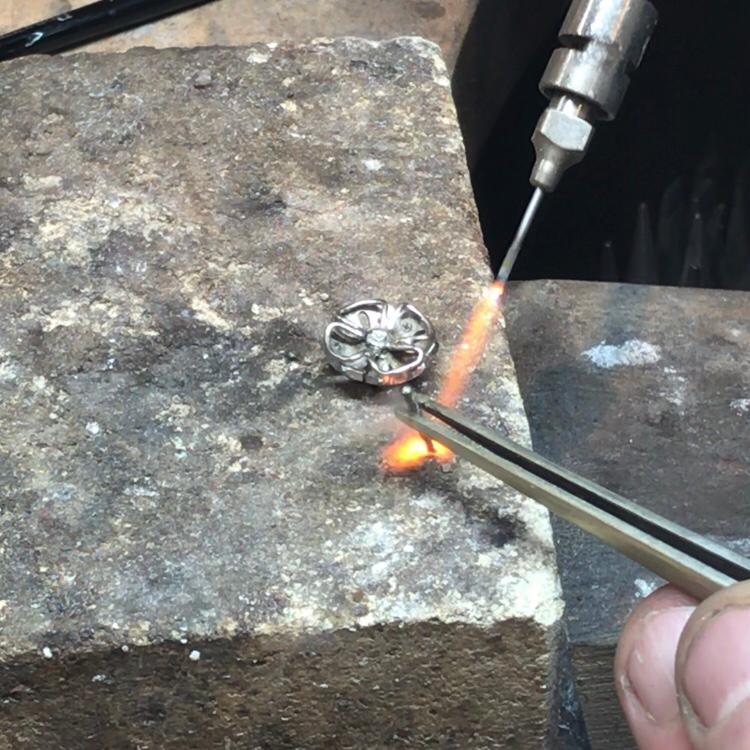
Using borax on the place of solder to stop the piece from oxidising, because solder likes to flow where its clean and hot. We also use the borax on the stones to protect them from the heat.
Using easy white gold solder we solder the posts on, picking up the solder with the post and slightly heating up the earring to add the post to.
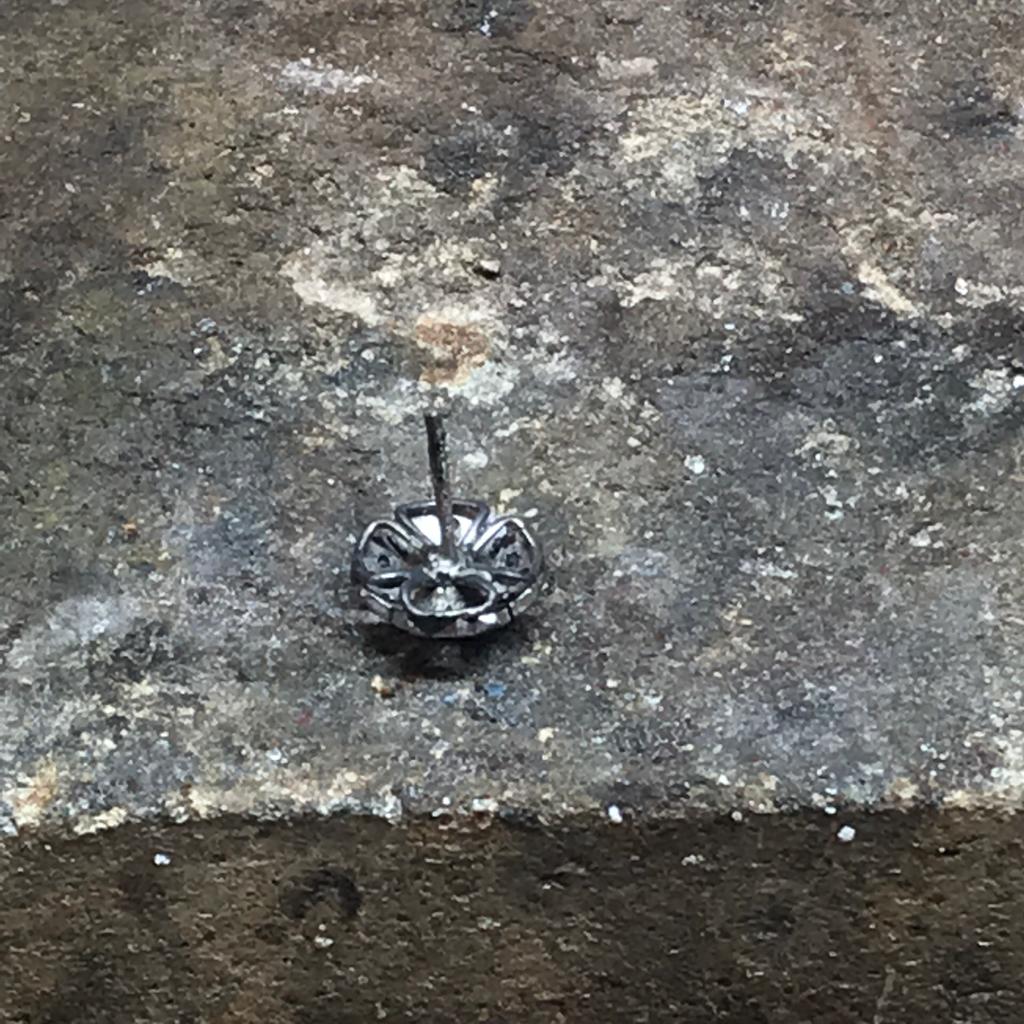
Let it cool down on the side on its own instead of quenching it because it could damage the stones.
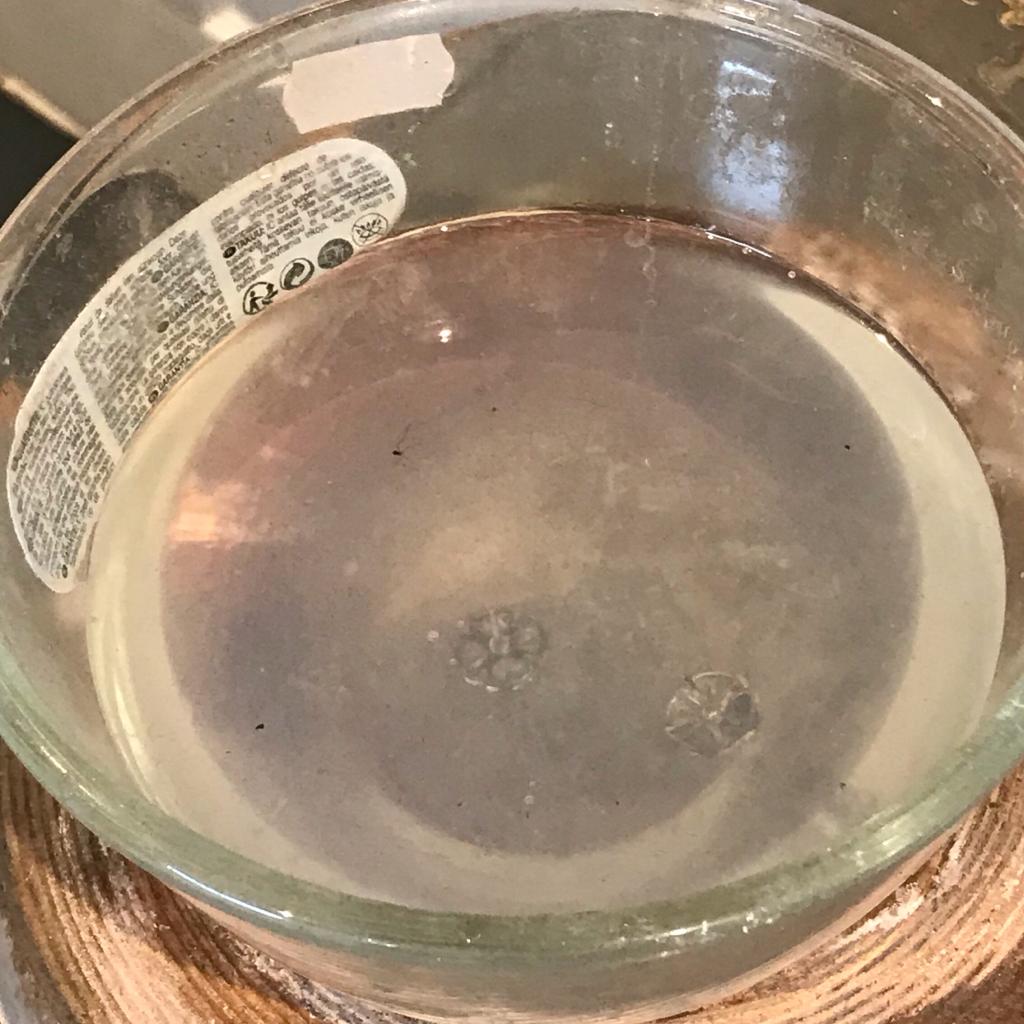
Drop the pieces in the pickle, a solution which has a Sodium BiSulpate base to get rid of oxidisation and borax for a couple of mins
Using a polishing compound and a small mop, we polish and clean up the piece before dropping it into the ultrasonic which cleans the piece using vibration.



All rights reserved 2025
All rights reserved 2025